Couch-2-Campsite #2: The Only Fire You Need to Know
There’s nothing that makes me more comfortable at camp than a fire, so much so that I’ll avoid places where fires are not allowed. Especially when camping alone, a fire provides light, heat, security, and a feeling of company. There are dozens of ways of building a fire for different circumstances, like cooking, fuel conservation, all-night burning, etc. So what is the best campfire to learn to build?
It’s the Lean-To Fire. Here’s why:
Every fire is based on the same foundation - an ignition source sparks small tinder, which lights bigger kindling, which eventually burns fuel to produce continuous light and heat. Different fires can be built for different purposes, but all of them rely on this same principle. The Lean-To Fire is the easiest, fastest, and most reliable method of building a fire that quickly becomes stable, even in slightly windy conditions.
Here’s how to do it:
Source your wood
The key to building a good fire is preparation. You should spend 10-15 minutes finding dry tinder, kindling, and fuel wood from the area around your camp. Don’t use wood that is wet or green - if it doesn’t snap easily, it won’t burn well. Here’s what to look for:
-
Pine needles, thin papery bark, newspaper, and dry grasses all work well as tinder.
-
Dry twigs and sticks smaller than your pinky finger work well as Phase 1 kindling. Pine wood (from trees with needles) burns hot and fast, which is what we want from kindling.
-
Sticks as big as your index finger to about an inch in diameter work well for Phase 2 kindling.
-
Branches as thick as your arm work well for fuel. Don’t go larger than that; big logs burn too slowly for most campfire purposes, but…
-
Grab one big log, about as thick as your leg. This will be the foundation for our Lean-To Fire.
-
Cut or break your kindling and fuel wood into 10-14 inch lengths. Lay your pieces out in groups next to your fire, from smallest to largest, so you can easily find the right pieces for building the fire.
Clear a patch of ground and lay the fire
With all your wood sourced, organized, and within reach, it’s time to build the fire. Clear a patch of ground about 6 feet in diameter, down to the bare earth. Take your big log and place it in the center of the cleared patch. If it’s windy, use the log to block the wind from one side.
Lay a nest of tinder on the leeward (non-windy) side of the log. Airflow is essential to getting a fire started, and continuing to burn on its own, so bunch and crumble the tinder together to ensure air can flow freely through it.
Using the large log as a support, lean the Phase 1 kindling like a bridge over the tinder. Start with the smallest twigs and work up in size, ensuring there’s plenty of space around each piece for air to flow.
Lay the Phase 2 kindling over the Phase 1 kindling, ensuring air can flow, and lay 1-3 of your thinnest pieces of fuel wood over the kindling, again, ensuring air can flow.
Light the tinder and stoke the flame
A well-laid fire will go from spark to burning very quickly, and that’s what we want. Once the fire is laid out, we’re ready to light. Use a lighter or a match to ignite the tinder at the base of the Lean-To. It’s not cheating, we’re here to learn (and I always carry at least two lighters with me whenever I’m camping).
If the tinder doesn’t light, it’s too wet or too big. If it lights but doesn’t stay lit, it’s either too far apart or too close together for air to flow properly. Once the flame is feeding itself, blow gently on the flames to help them spread through the tinder. The kindling should catch and soon burn its way up to the fuel wood.
Once the fuel wood is burning, you can begin to add more. Hardwoods like oak, hickory, or maple burn more slowly; softwoods like pine burn more quickly. If you’re not sure which is which, put lighter-weight logs on before heavier logs.
Experiment with controlling the fire, before putting it out
Now that your fire is burning, see what happens when you move pieces of wood closer together and further apart, to learn how airflow and fuel affect how your fire burns. If the flames go out but the coals are still hot, try adding more kindling again to bring the flames back. Eventually, let your fire burn down to embers, then douse the remaining embers with lots of water. Ensure every ember is out - never leave a fire burning in the wilderness.
There are lots of great videos and tutorials online covering how to build a lean-to fire. Here are a couple:
There are lots of other kinds of fires out there, but don’t get distracted. Learn to build the Lean-To Fire first with this challenge below:

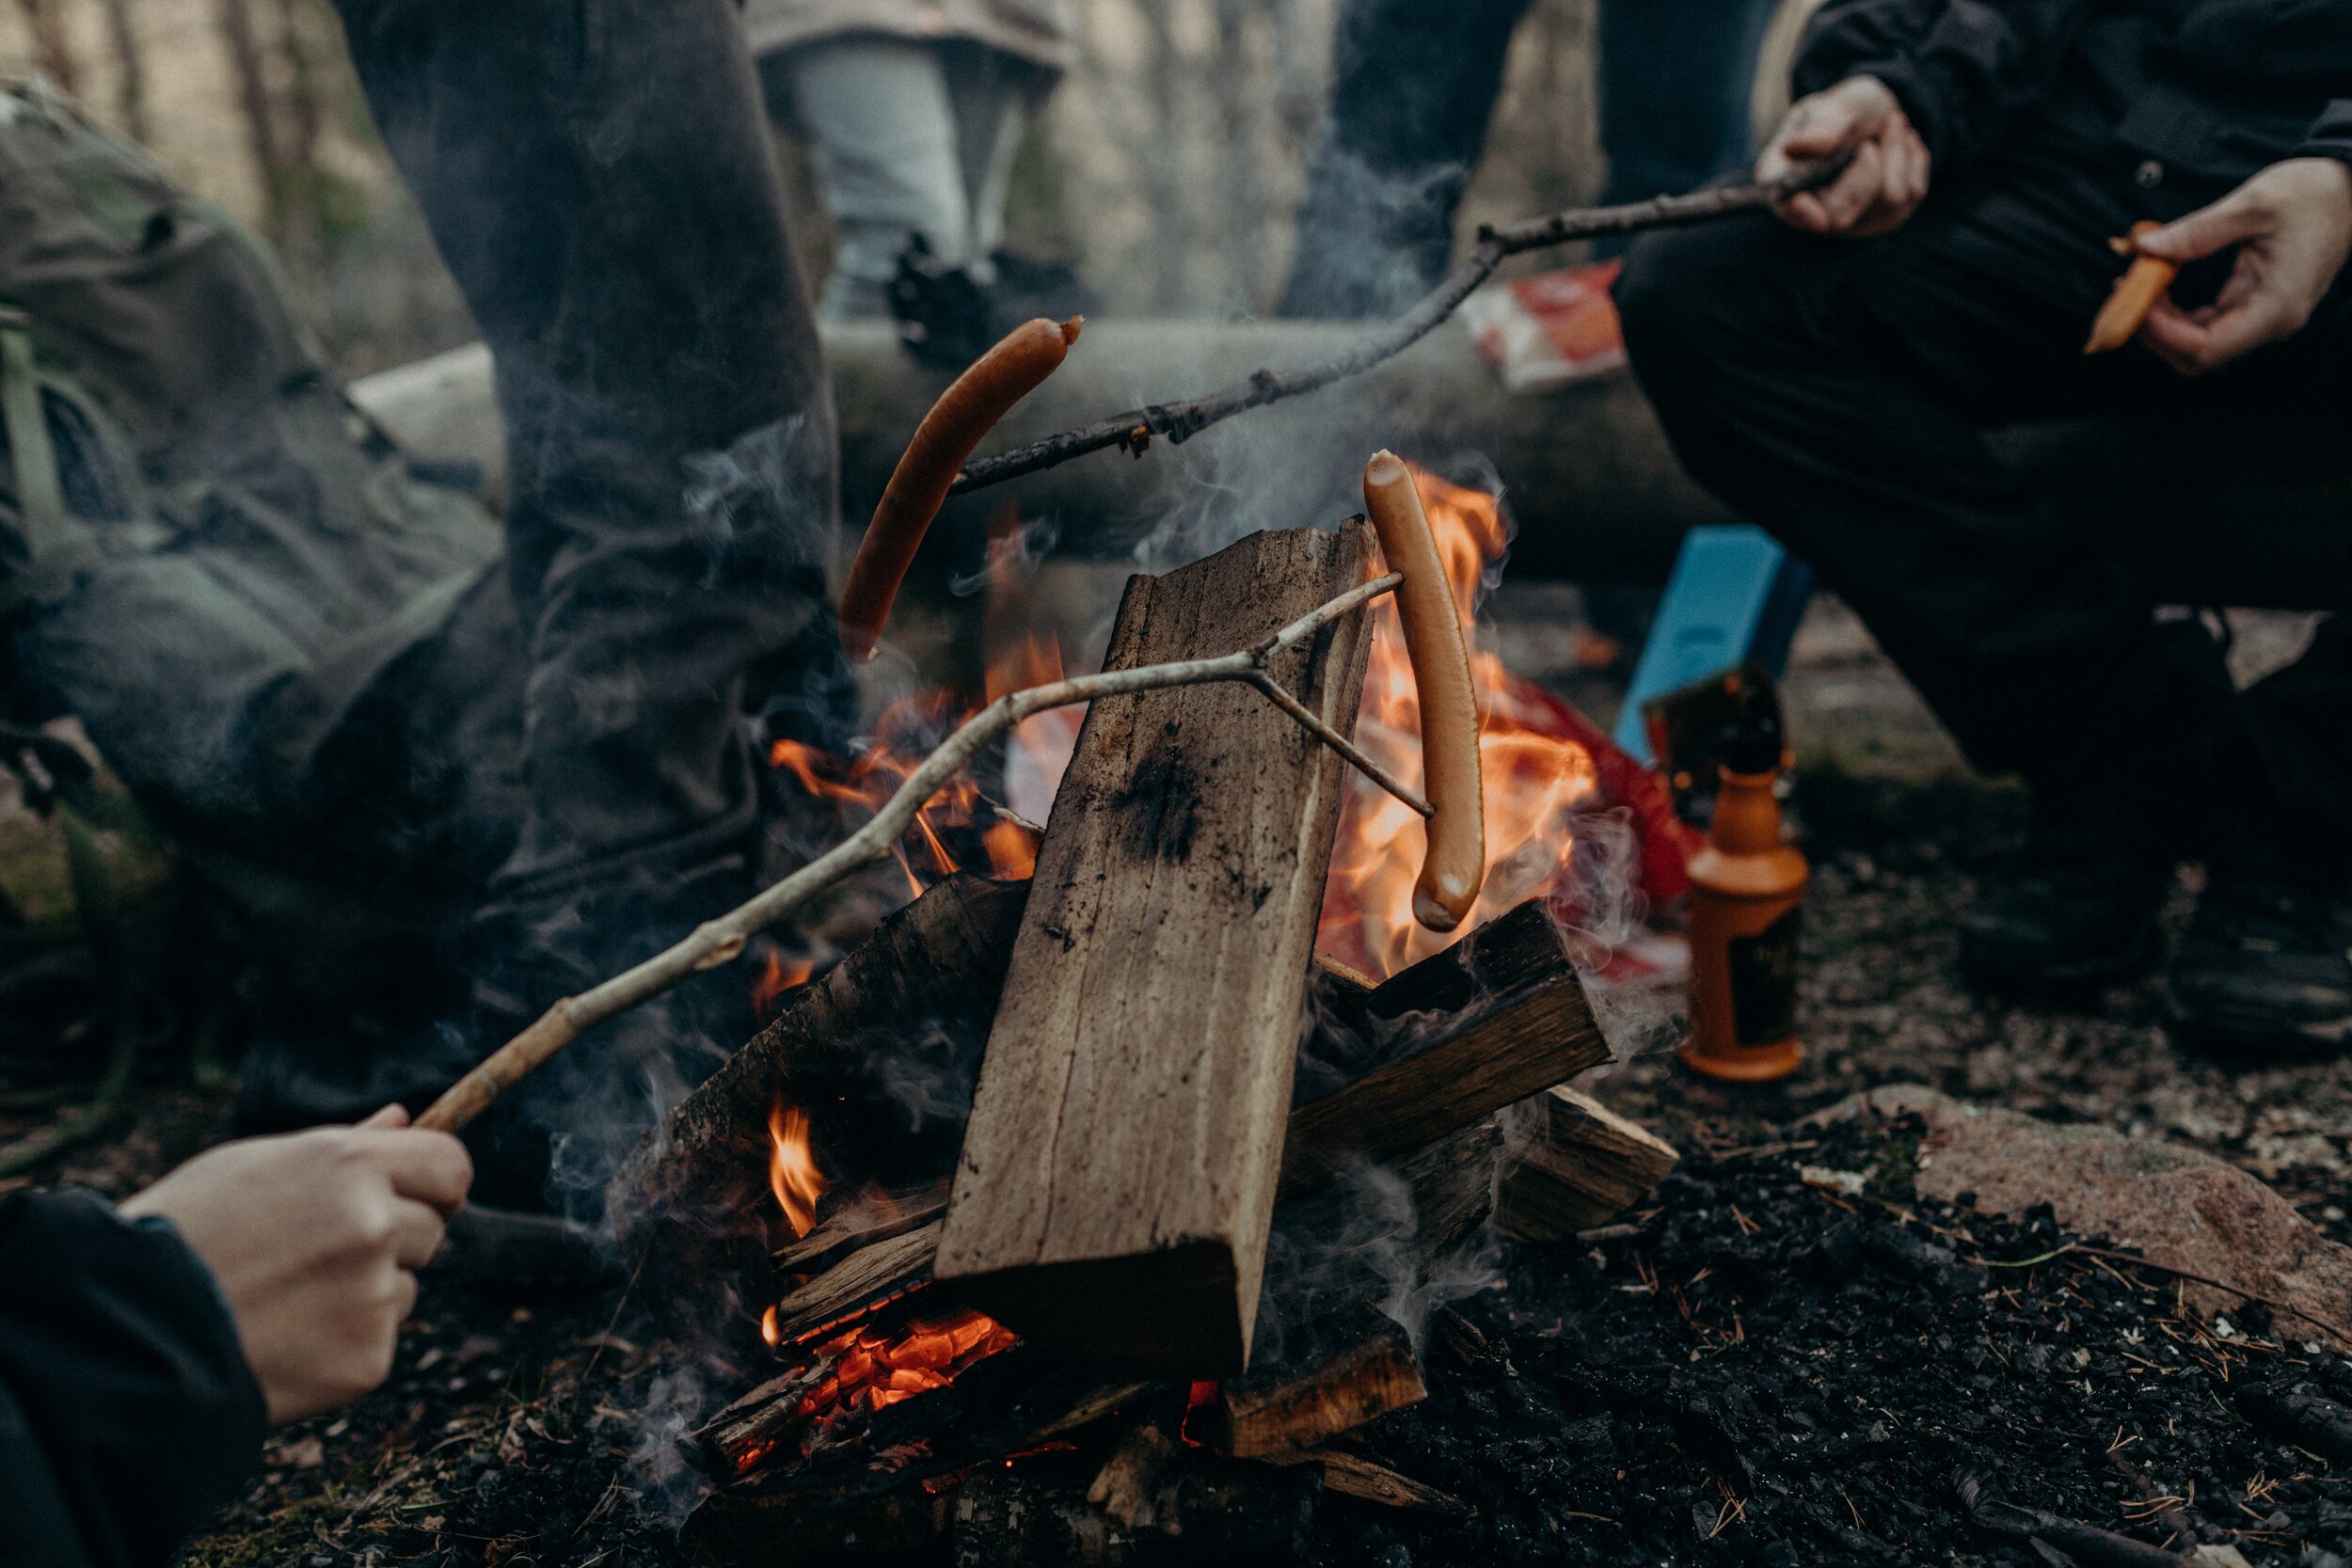
C2C CHALLENGE 1: WEENIE ROAST
In your backyard, in a charcoal grill, or in a park that offers public fire pits or grills, build a lean-to fire and use it to cook a hot dog.
Next, we’ll use this new skill to help make it possible for you to eat and drink wherever you are.


